
Timeline
Timeline Editing
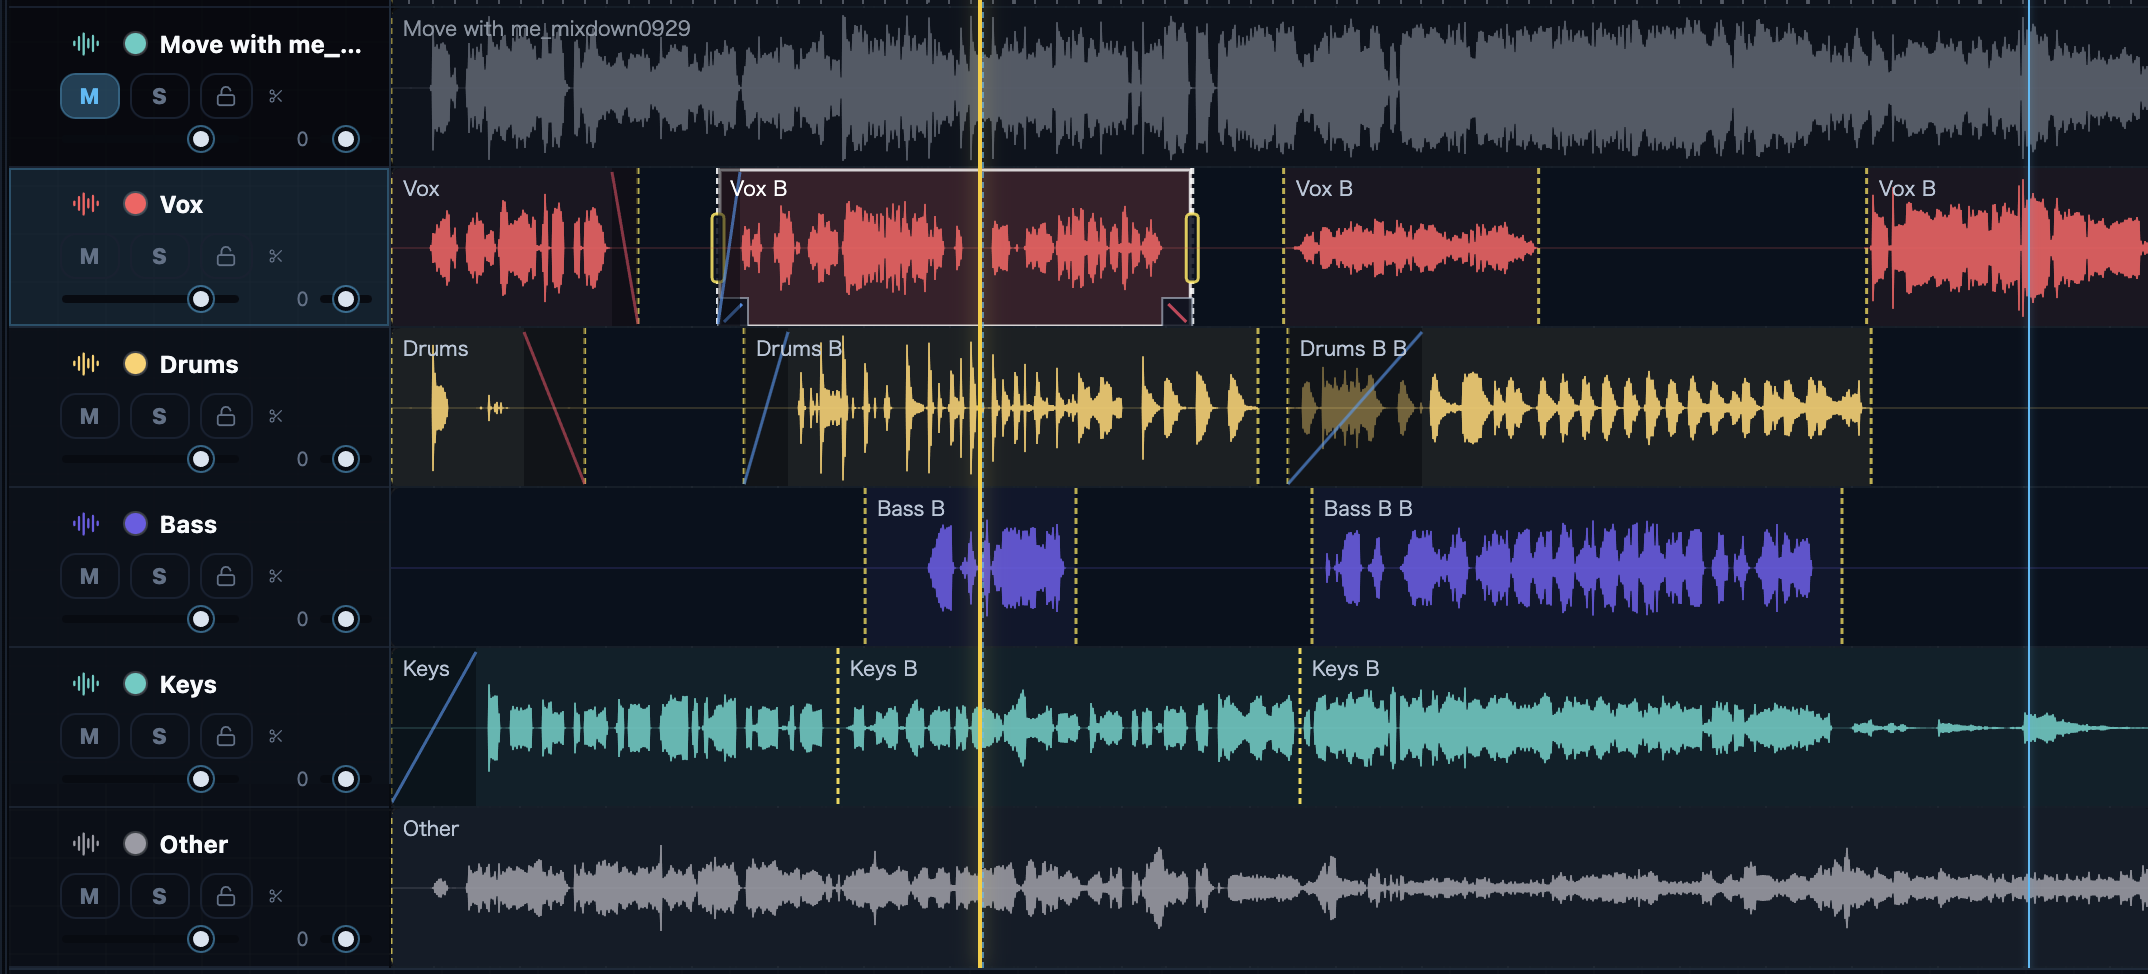
The timeline is where everything in a song — audio, prompts, cues, tempo, and comments — is edited on one time axis. Unified view lines up every song in a block side by side.
Track kinds
| Track | Contents | Main operations |
|---|---|---|
| Comments | A dedicated top lane showing cloud comment markers. | Double-click to add a comment at that time. Markers can be dragged to retime. |
| Beat | Beat clips declaring the BPM on the lower row, count markers on the upper row. | Drives the click, beat grid, and snapping. Edit BPM / time signature / click sound in the inspector. |
| Prompter | Prompt blocks containing lyric, guide, and direction lines. | Double-click to add, ⌘B to split, ⌘J to merge. See the Prompter page for details. |
| Cue | Human cues, cue messages, and MIDI / OSC / Art-Net signal cues. | Supports adding, splitting, and copying clips. Each cue can address cue targets. |
| Shot | A two-row layout of camera cues and switching instructions. | Holds per-track camera source presets and signal-output settings. |
| Audio | Project-wide audio lanes; one track can hold multiple audio clips. | Split, trim, fade, replace. Stereo material shows split L / R waveforms; volume / pan / route are edited in the inspector. |
Unified lane behavior
Prompter, Cue, Shot, and audio tracks share the same look and handling.
- Collapse — Click the color strip on the left edge of a track to collapse or expand it. Collapsed tracks are 28px tall; Cue / Shot clips render as thin outlines and the prompter as a summary bar. Clicking to select still works while collapsed.
- Consistent heights — The standard track height is 80px (Cue is 56px). Minimizing an audio track now genuinely reduces the row height.
- Trim handles — On every clip type, the outer 8px of each edge is a trim handle, visible on hover and when selected.
- Snap and beat grid — Toggle snapping with N. Clips and blocks snap to the nearby grid, other clips, sections, the playhead, the edit cursor, and the beat grid derived from beat clips. During a drag, the guide line labels what it snapped to.
- Lock Mode — The padlock icon in the header locks editing while keeping selection and inspection available.
Range selection, playback modes & copy/paste
Drag the time ruler at the top of the timeline to create a time range selection. It highlights across every track, and you adjust it with the in / out handles at each end.
- Using a range — Choose “Selection” as the scope in the audio export dialog to export just that range (clips crossing a boundary are trimmed to start/end inside it). The “Insert gap” dialog is also pre-filled with the selection’s length.
- Copy & paste — Section / Prompter / Cue / Shot / Switcher / Audio share one clipboard: ⌘C / ⌘X copy or cut, and ⌘V pastes whatever you last copied at the yellow edit cursor — including into a different song, and copy & paste across songs.
- Insert gap and delete time — Insert Gap can use the selection, edit cursor, or current playhead time as the starting point and shifts later items later. Delete Time removes the specified span and pulls later audio, prompter, and Cue / Shot items earlier.
- Align to playhead or edit cursor — Selected Audio / Prompter / Cue clips can move their start directly to the playhead or edit cursor. For fine placement, drag while watching the snap-target labels.
Playback modes (TransportBar)
| Mode | Behavior |
|---|---|
| Normal | Advances per the setlist’s auto-play settings (waits at MC). |
| Forced continuous | Ignores auto-play settings and keeps going, skipping MC / block gaps straight to the next song. |
| Selection loop | Loops the selection, returning to the in point when it passes the out point. Works across multiple songs too: it plays from the in point (first song), skips MC / breaks through the following songs, and loops back at the out point (last song). |
While a cloud Master Lock is held, “Forced continuous” and “Selection loop” are disabled automatically to prevent mistakes during a show. On the native engine, cross-song continuous playback reanchors without stopping the device, so no stray audio is heard at the seam.
Sections and markers
- Sections — The colored band at the top of the timeline. Double-click to create one; drag to move and resize. Set the name and color in the inspector.
- Song markers — Notes / jump points inside a song. Add one at the playhead with ⌘K or by double-clicking the marker lane. Click a marker to seek to it.
- EoS (End of Song) — The logical end of the song, drawn as an orange dotted line with the “next program area” hatched to its right. Drag the EoS pin to adjust it (double-clicking the lane to set it was removed to prevent accidents).
Beat clips and the click track
Beat clips form a sequence of “from here, the BPM is X” declarations, building a variable-tempo map. The click sound, beat grid, and beat snapping all follow this map. Count markers are independent markers that fire count-in sounds (voice or beep) for the bar or two leading into a cue point. Click and count sounds and volumes are configured in the song inspector.
Shot tracks and signal output
Shot tracks place the information handed to the camera team and the switcher on the time axis.
- Camera Cue — Framing, subject, and standby instructions for camera operators. Shown on the timeline, the camera/switcher prompter, and the cue sheet.
- Switching — Program / Preview / Transition instructions for the switcher. Transitions include CUT / MIX / WIPE / FADE / HOLD.
- Source presets — Register CAM numbers, display names, colors, and switcher input numbers per track.
- Signal toggle — The Signal button on the track header toggles output (grey = off / yellow = on). When on, switching commands are sent to Blackmagic ATEM / Roland LAN / OSC as the playhead enters each Switching clip.
Caution
Once connected to a real switcher, always send a CUT test from the track properties before the show. During rehearsals where you do not want output, leave the Signal toggle off (grey).
Comment markers
On cloud projects, comment markers appear in the comment lane at the top of the timeline. Clicking a marker opens a lightweight popup for reading, replying, and changing status; double-clicking adds a new comment at that time. Markers can be dragged to retime, and the new time is saved to the cloud. During playback, when the playhead passes a marker, a small bubble with the author and text pops up for about five seconds.
Zoom and navigation
Zoom with a pinch gesture, R / T, ⌘= / ⌘- (also the 2 / 1 keys), and reset to fit with ⌘0. You can also hold ⌘ / Ctrl and scroll the mouse wheel to zoom. Where zoom centres is set in Settings ▸ Timeline, separately for the keyboard and the wheel: the keyboard offers the mouse-cursor position (default), the edit-cursor position, or always the playback position; the wheel offers the playback position centered (default) or the mouse-cursor position. Scroll horizontally with the trackpad, Shift + wheel, or the bottom scrollbar. Song view shows a minimap for a whole-song overview.
Waveform display
Stereo files are drawn as split waveforms: L on top and R below. The waveform zoom control in the timeline toolbar scales only the displayed amplitude from 0.5x to 48x, making quiet material easier to read. It does not change playback volume or export levels.
Exporting and interchange formats
From “Export” at the top of the timeline you can write out the current song, the current block, or the whole show in several formats. Exports reflect the current mute / solo, volume, pan, and clip edits.
- Stereo mix — Export the 2-mix as WAV / FLAC / MP3 / OGG. You can also choose an LTC mix export with LTC on the left channel and the 2-mix on the right.
- Stems (parallel WAV) — One WAV per lane, with the option to include the click and count.
- Embedded metadata (WAV option) — An option (on by default) on WAV stereo-mix and stem exports that embeds sections, markers, and BPM into the WAV files; Japanese names are preserved.
- MIDI tempo map — A MIDI file carrying the variable-tempo map plus section and marker names.
- grandMA2 timecode — An XML file for lighting consoles that lays out lighting cues against absolute timecode.
- AAF (multitrack) — A multitrack AAF for Pro Tools / Avid / Premiere. The first export installs a small Python helper. AAF cannot carry tempo or sections, so pair it with the MIDI tempo-map export.
The stereo WAV (2-mix) export is available on Free. Stems, the LTC mix, the MIDI tempo map, grandMA2, AAF, and the cue sheet (XLSX) export are Pro-plan features.